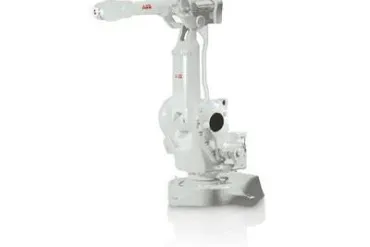
How to Operate Fanuc Robots: Programming & Interface Guide
When repeatedly using equipment, machinery, or other devices, operators expertise generally increases, and established routines become the norm. Although this scenario is expected, it is always helpful to review operational guidelines, especially when working with highly technical equipment like robots. Keeping track of all the necessary information can be challenging, especially when integrating the most recent updates; therefore, a quick tutorial can be enormously helpful.
Let's look at a comprehensive guide on operating a Fanuc robot. Whether you're new to using these robots or need a quick refresher, this step-by-step guide will help you understand the basics of turning on the Fanuc robot, resetting alarms or faults, and operating the robot in both joint mode and the world coordinate system, that is, to move the robot along X, Y, and Z Cartesian axis. We aim to make this guide easy to follow, ensuring manufacturers get the best productivity and output from their Fanuc robots.
Note: Before powering on your controller. Visually inspect the robot, controller, workcell, and the surrounding area. During the inspection make sure all safeguards are in place and the work envelope is clear of personnel.
Turning On Your Fanuc Robot
The first step to operating your Fanuc robot is to turn it on. Here's how:
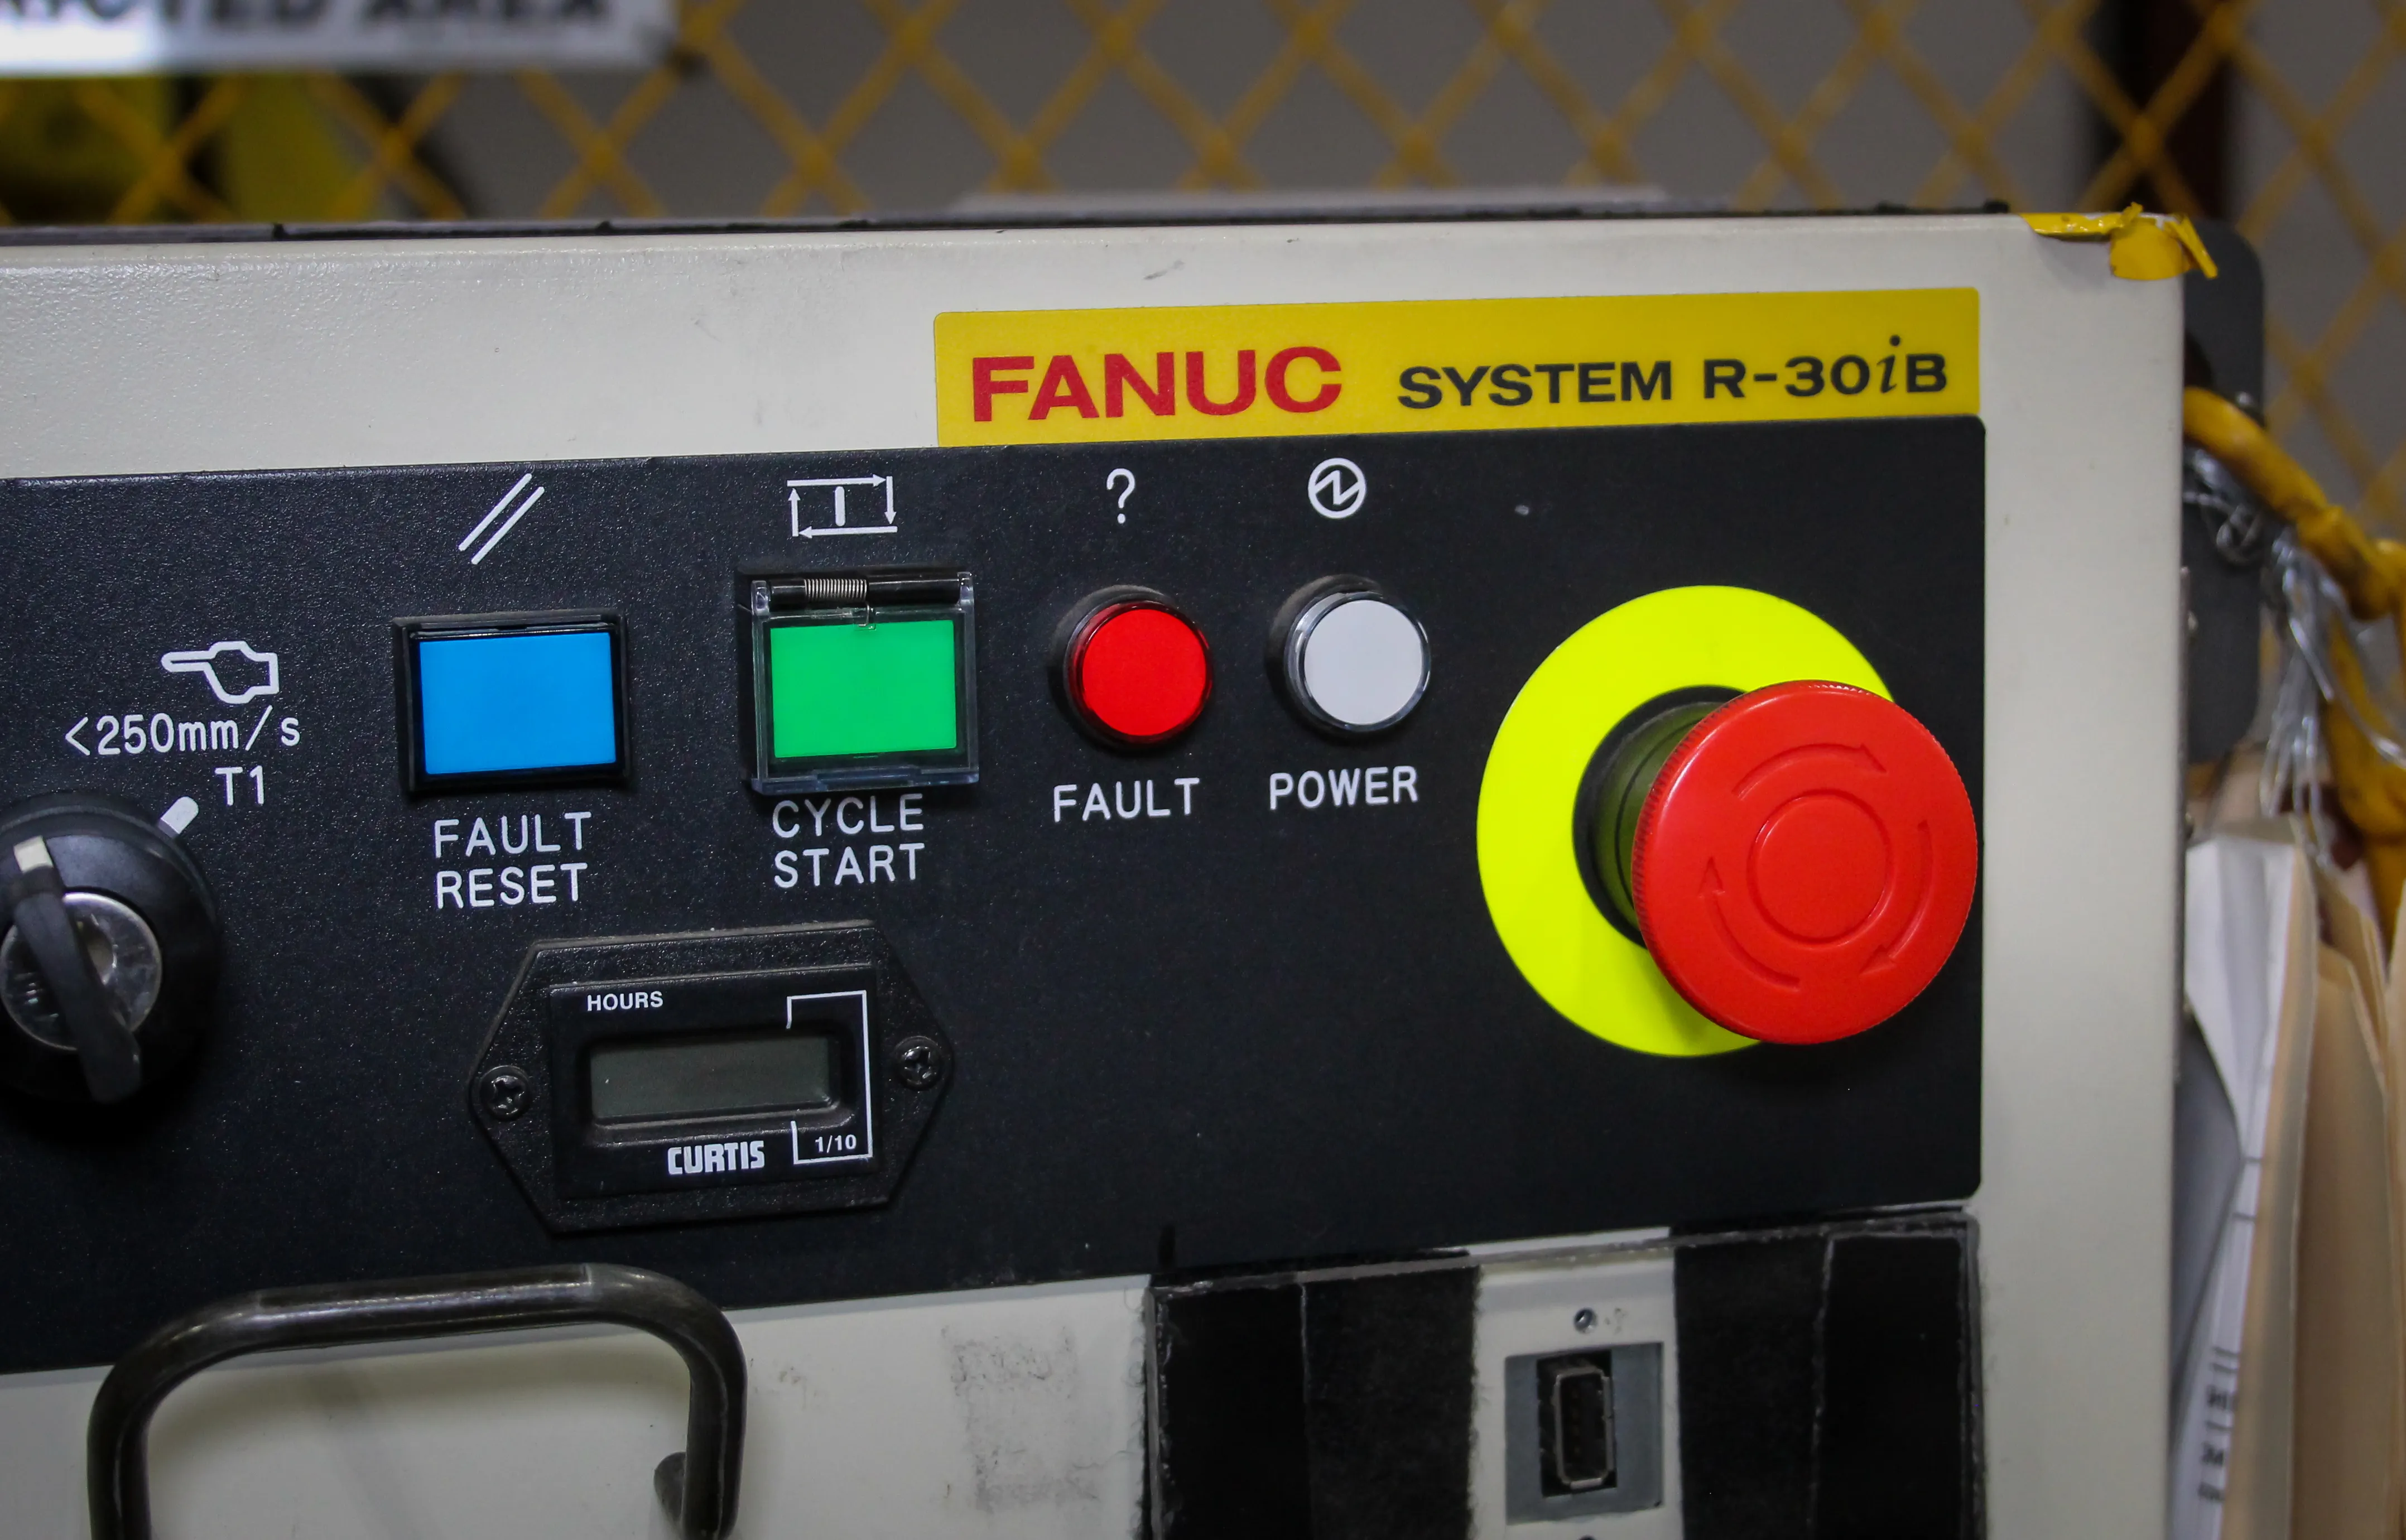
- Locate the Fanuc System Robotic Controller: This is the main control box for your robot.

2. Turn on the Controller: Turning on the robot provides power to the robot and controller. Press the "on" button (For RJ3iB and older) or Turn the power disconnect circuit breaker on the operator panel to ON. Ensure the (T1/T2 Auto/Mode Select) key (switch) is in the correct position to avoid switching the robot to auto mode. Keep it in manual mode so you can use the teach pendant.

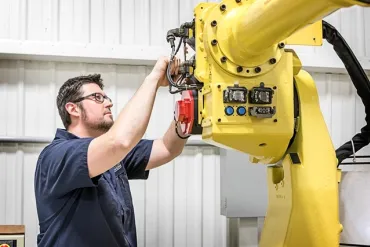
Using the Teach Pendant
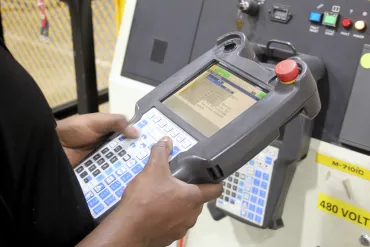
The teach pendant is your primary tool (And Safety Device) for manually controlling the robot. Follow these steps to get started:
- Find the Teach Pendant: It should be easily accessible- somewhere nearby where you begin the shift’s operations (Change to Controller?).
- Turn on the Teach Pendant: Ensure the (Enable Switch) is in the "on" position.

3. Start Using the Teach Pendant: Once the pendant is on, you can control your robot manually.
Clearing Faults
You might encounter faults that need to be cleared when using the teach pendant. Here's how to reset these alarms:
- Identify the Fault: If there's a fault, it will be displayed on the teach pendant (In the Status Line displayed below).

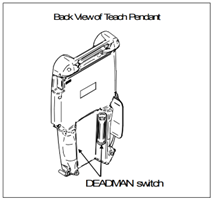
2. Use the Deadman Switches: Two (Three position) Deadman switches are on the backside of the teach pendant. Hold these in the (Middle) position.
3. Press Shift and Reset: While holding the deadman switch, press the shift button and then the reset button. This will clear the fault. Remember, if you release the deadman switch, the fault will reappear. The SHIFT key is used to jog the robot, teach the position data, and start a program. The right and left SHIFT keys have the same function.


Coordinate Systems
In jogging, a coordinate system defines how the robot will move. There are five coordinate systems. We will discuss the two that are used the most. World and Joint.
Operating in Joint Coordinate System or Joint Mode
Joint mode allows you to move each joint of the robot independently. Here's how to do it:
- Select Joint Mode: Press the "coordinate" button on the teach pendant until you select the joint coordinate system.


2. Use the Deadman Switches: Two (Three position) Deadman switches are on the backside of the teach pendant. Hold these in the (Middle) position.

3. Control the Joint: Use the buttons on the pendant to move the joint in the positive or negative direction.

4. Adjust Speed: You can control the speed of the movement. It might be set to 50% of the maximum speed by default. Press the +% or -% jog speed key to change the jog speed values.

Operating in World Coordinate System
You can move the robot along the X, Y, and Z axes in the world coordinate system. Here's how:
- Select World Coordinate System: Press the "coordinate" button on the teach pendant until you select the world coordinate system.

- Clear Faults: As always, make sure to clear any faults by pressing the deadman switch, shift, and reset buttons.
- Move Along Axes:
- X-Axis: Press the button for the X-axis to move the robot along this axis.
- Y-Axis: Use the Y-axis button to move the robot along the Y-axis.
- Z-Axis: Use the Z-axis button to move the robot along the Z-axis.

Additional Tips
- Manual vs. Auto Mode: Always ensure the robot is in manual mode and (The selector switch is set to T1) when using the teach pendant (to prevent accidental movements or crashes which could result in damage to tooling or personal).
- Speed Control: Start with a lower speed setting, especially when learning or making precise adjustments.
- Safety First: Before jogging teaching, visually inspect the robot and work envelope to make sure that no potentially hazardous conditions exist. Get familiar with your safety devices, work envelope, and potential obstructions that might limit the robots range on movement.
Fanuc Robots 101: A Worthy Refresher
By following these steps, you can effectively turn on, reset, and operate your Fanuc robot. Understanding how to control the robot in both joint mode and the world coordinate system will enhance your ability to perform tasks efficiently and safely. Remember to always keep your robot in manual mode when using the teach pendant, Your teach pendant in your hand when in the workcell and there is a potential for motion, and adjust the speed settings as needed.
For more information on Fanuc robots and troubleshooting tips, contact T.I.E. Industrial. Our expert technicians and extensive inventory of refurbished Fanuc robotic replacement parts can support your business for all your Fanuc robot needs. We can help you maximize your robot's potential and productivity in your manufacturing processes.
Contact us today for more information!
Related Articles
You might be also interested in:
- Training & Education
Training Your Team: Learning about Teach Pendant Operations

- Training & Education
Mobile Training Lab By Marion Technical College
Robots.com has partnered with Marion Technical College to create Mobile Training Lab. This lab is intended to provide a flexible option for manufacturers to train employees or students without taking any systems offline. This Mobile Training Lab has computers, CNC, and a Fanuc robot that can properly help prepare the workers of the future for their automation jobs.
- Training & Education
FABTECH -An Event You Don't Want to Miss!
FABTECH brings live product demonstrations, expert education programs, and unlimited networking opportunities to businesses that seek a competitive edge. FABTECH has exhibits of the latest technologies and innovations in equipment, products and services for people to experience first hand. Automation is quickly advancing, so bringing the latest and greatest to FABTECH provides the opportunities for current manufacturer's to upgrade their arc welding, assembly, cutting, etc. applications.

- Training & Education
Education, Training, and Awareness are Mandatory for Industrial Robot Safety
Industrial robot safety has a pretty impressive record due to the excellent work of RIA who has provided resources and educated robot owners. It is important for robot workers to be properly educated and well-trained on any robotic system that is integrated onto a production floor. Contact Robots.com experts today to get started with your integration and training process.
- Training & Education
Hands-On Robotic Experience for Engineering Students at Wilkes University – Wilkes-Barre, PA
Robotics will continue to pop up in industries across the globe, and so the need for people to truly learn and understand them will keep growing. This is why it is important to have hands-on robotic experience as seen at Wilkes University. A robotics lab will help students better understand robots and be able to work with them in the future.
- Training & Education
Robotic Development
Researchers across the globe are developing robots to help perform new tasks for a variety of environments such as ocean and space exploration. This is a difficult task as robots for space must be developed to withstand extremely hot and cold environments whereas ocean robots must withstand salt, corrosion, and extreme pressures.